The Best Paper for Cyanotype (and how to coat it)
Choosing and coating papers for cyanotype printing.
This article is a written companion to my Cyanotype Alpha Omega II YouTube video course. Use this guide to follow along with the video on choosing and coating paper or to revisit details while you work.
 Watch on YouTube
Use code ADAM for 20% off all products at Jacquard Products.
Choosing a surface that survives the wash, then coating it from edge to edge
Affiliate disclosure: Some product links in this article may be affiliate links. If you buy through one, I may earn a small commission at no additional cost to you.
You can make a cyanotype on almost anything that will hold the sensitizer, but paper makes the whole process easier to learn.
I’ve printed cyanotypes on river rocks, paper towels, and even experimented with glass. A paper towel will make a print—I’ve done it—but if you’re starting out and want a sheet that can take a proper wash, I would begin with a substantial watercolor paper. From there, the paper’s weight and surface texture let you steer the look of the final image.
This guide picks up where my chemistry mixing guide leaves off. We’ll choose a paper, look at a few coating brushes, and put the mixed sensitizer onto a sheet without making a laboratory exercise of it.
Start With a Sturdy Watercolor Paper
For your first prints, my practical recommendation is 300 gsm (roughly 140 lb) watercolor paper. It’s made to accept a water-based medium and generally stands up better to the rinse than a thin sheet. That’s a starting point, not a law; I’ve used much more delicate papers, and they can be beautiful. They also ask a lot more of you during washing.
GSM means grams per square meter. It’s the paper’s basis weight, not a direct measurement of its thickness. Higher numbers usually mean a more substantial sheet within a comparable paper line, but two papers with the same GSM can still feel and behave differently.
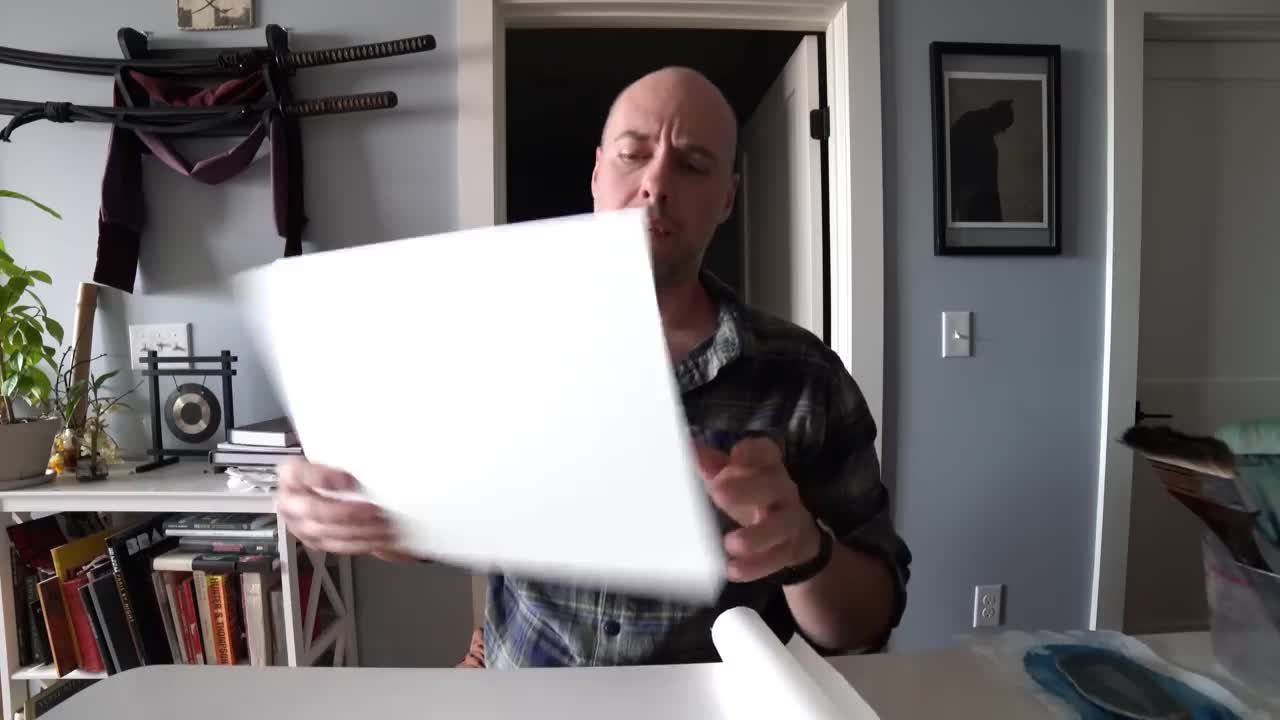
At the other extreme is kōzo washi, the thin Japanese paper I show in the video. I love trying to print on it, but it can become so fragile when wet that a normal tray wash turns into an adventure. Save that rabbit hole for after you’ve made a few prints on a sturdier sheet. We’ll return to printing on Japanese washi in a future article.
Hot Press or Cold Press?
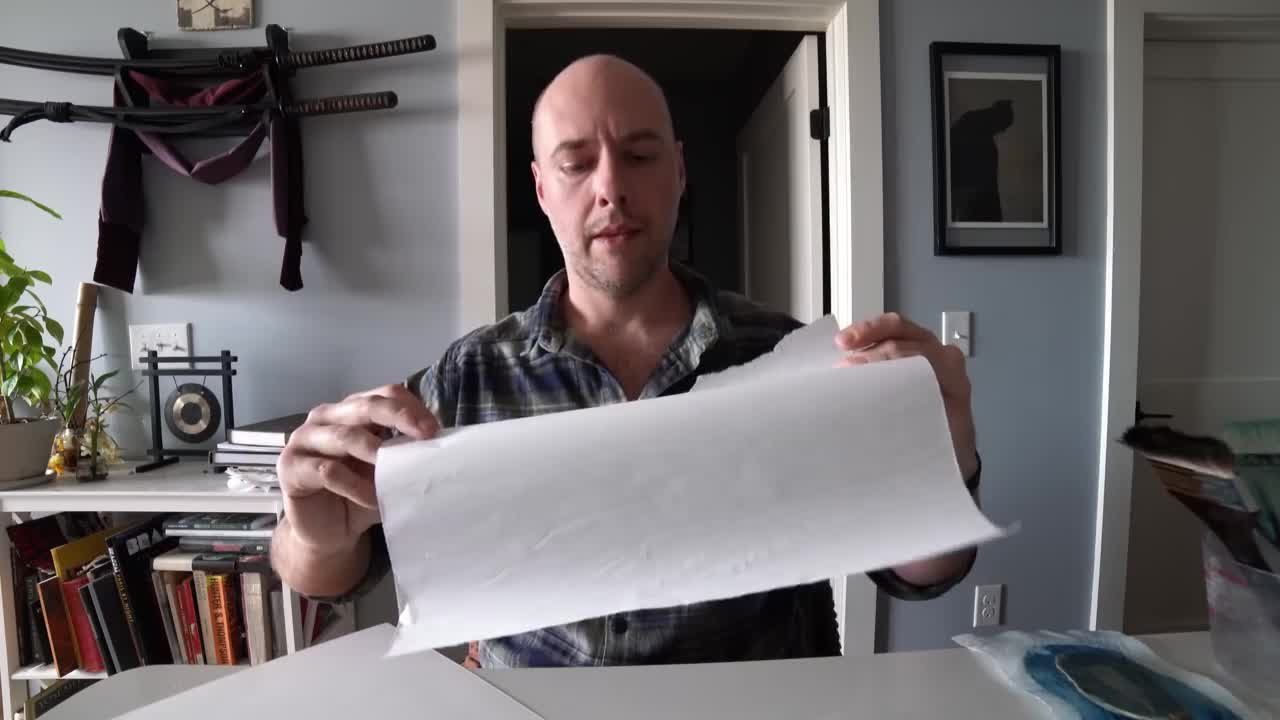
The next choice is the paper’s surface. Hot press watercolor paper is smoother; cold press has more visible texture, often called tooth. A smooth sheet tends to hold fine detail more cleanly. A textured sheet can make a print feel more tactile and organic.
Neither one is automatically better for cyanotype. For a portrait or a negative with fine details I want to keep, I often reach for hot press. For a landscape or a print where I want the paper texture to be part of the picture, cold press can be lovely. Your negative, coating, exposure, and paper all affect the result, so try both if you can.
I also favor a paper that will hold up over time. Look for a good-quality, acid-free watercolor sheet, but test a small piece before committing to a whole pack: papers with similar labels can behave differently with cyanotype chemistry.
Cut Edges and Torn Edges
A deckled or hand-torn edge can be beautiful. If you’re planning a lot of washing, bleaching, or toning, be aware that tearing may pull apart the fibers at the edge of some papers. That can let water work into the sheet unevenly. For a cleaner edge, use a sharp cutting tool and a safe cutting surface. For a rougher print, tear it and see what happens. I do both.
What Should You Use to Coat It?
You can apply cyanotype sensitizer with a coating rod or a brush. I work with brushes. A cheap foam brush is one of the easiest places to begin: it’s available almost anywhere, costs very little, and gives you good control near the edges.
A regular paintbrush works too. Softer, finer bristles can feel easier to control, although they may hold on to more solution. My old hake brushes have been with me for years. They’re light, they cover paper well, and their stained handles have become their own little record of the work. Like any bristle brush, they can shed hairs into a coating. Give an older brush a gentle check before you start.
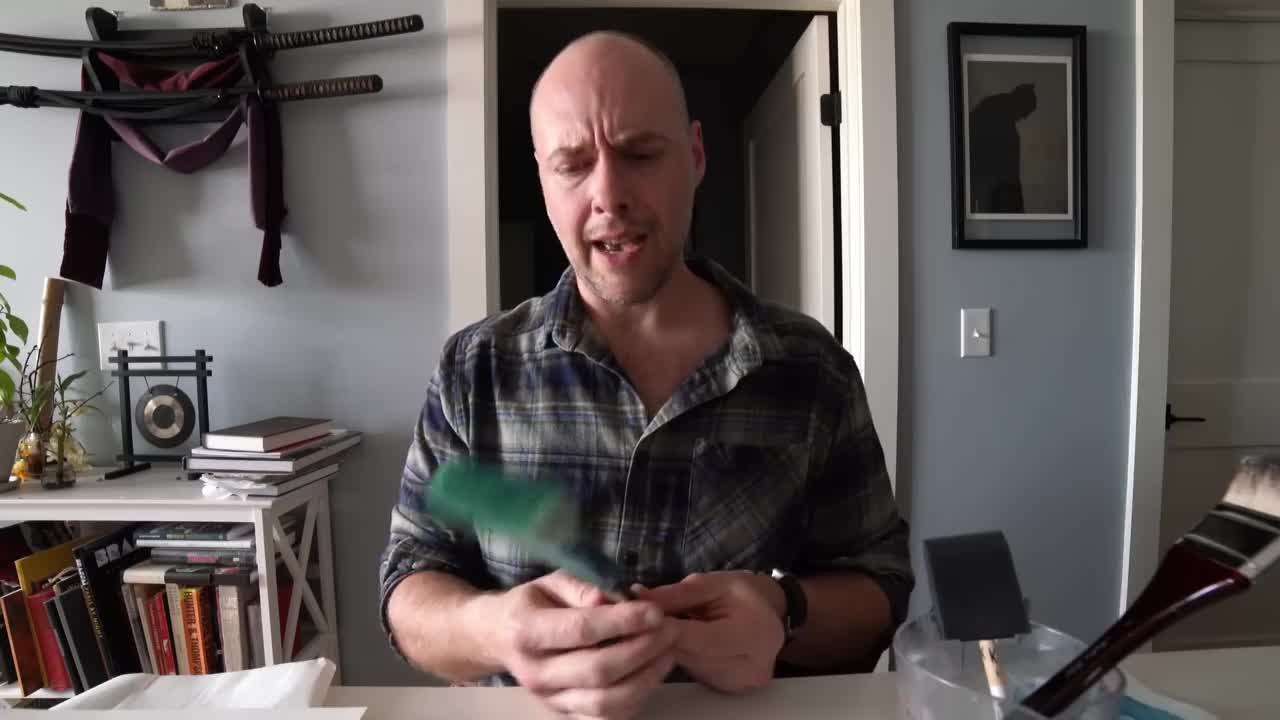
Use what you have and what you can afford. I would spend the money on paper and chemistry before buying an expensive brush.
Papers, brushes, and supplies mentioned
Watercolor paper
- Arches 9 × 12 cold press watercolor paper
- Arches 9 × 12 hot press watercolor paper
- US Art Supply 11 × 14 hot press watercolor paper
- US Art Supply 9 × 12 cold press watercolor paper
Brushes and cleaning
- The goat-hair hake brushes I use (eBay)
- The same goat-hair hake brushes (Amazon)
- Synthetic hake brushes
- Horsehair brush for cleaning paper
- Rocket air blaster
Chemistry and mixing supplies
- Pre-mixed Cyanotype Solution A and B Set
- Jacquard Potassium Ferricyanide
- Jacquard Ferric Ammonium Citrate
- Complete Cyanotype Kit, including paper, brush, and chemicals
- 100 mL blue glass dropper bottles
- 100 mL amber glass dropper bottles
- Digital scale
- Magnetic stirrer
Jacquard Products provided chemistry and materials for this video. For the mixing step, start with my guide to mixing cyanotype chemistry before coating your paper.
Set Up Away From Sunlight
You don’t need the total darkness of a silver gelatin darkroom to coat cyanotype paper. I work in an interior room under ordinary, reasonably dim indoor light. Keep direct sunlight and other strong UV light away from the sensitizer and the drying sheet. Coating at night is an easy way to remove one more variable—and, as I say in the video, I look better in the dark anyway.
Protect the work surface. I put brown craft paper over an upside-down darkroom tray so I can coat right to the edges without worrying about the table. Wear gloves and eye protection when handling chemistry, and keep your coating tools separate from food tools.
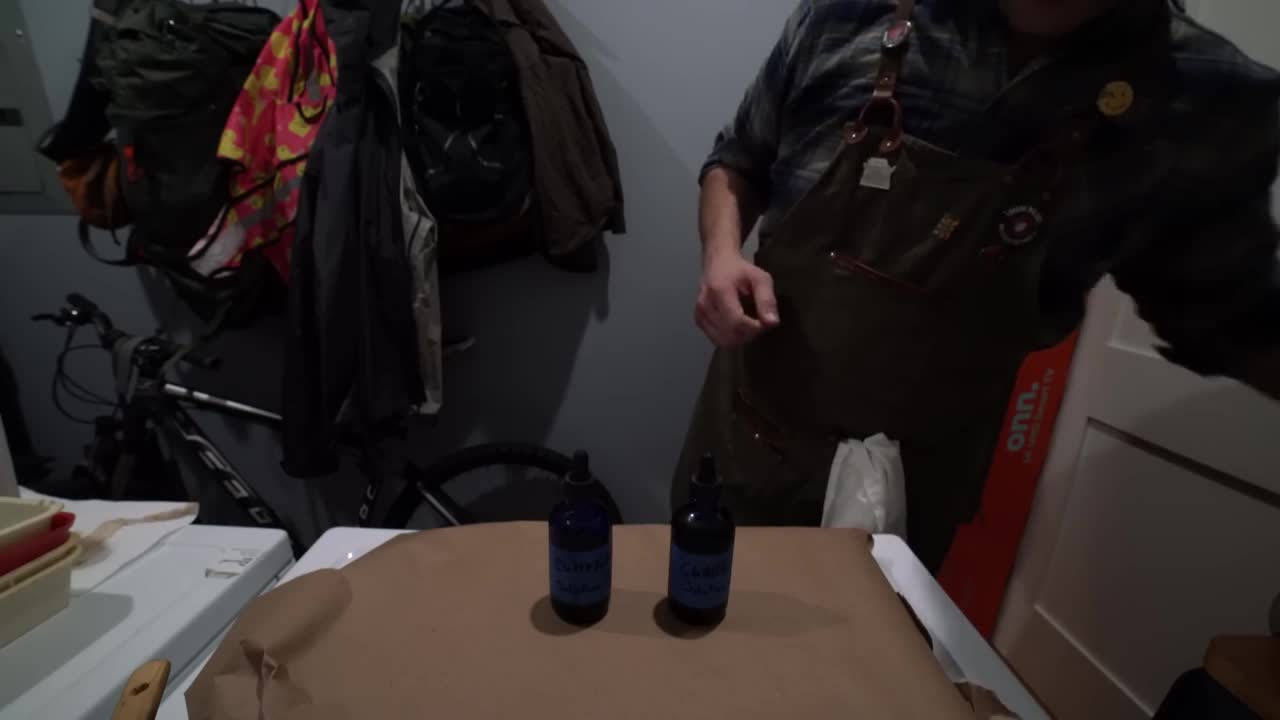
Before coating, check the sheet for dust, hairs, and loose brush bristles. A soft brush or air blower can help. Once the sensitizer is on the paper, those little intruders are much harder to ignore.
Mix Only What You’re About to Use
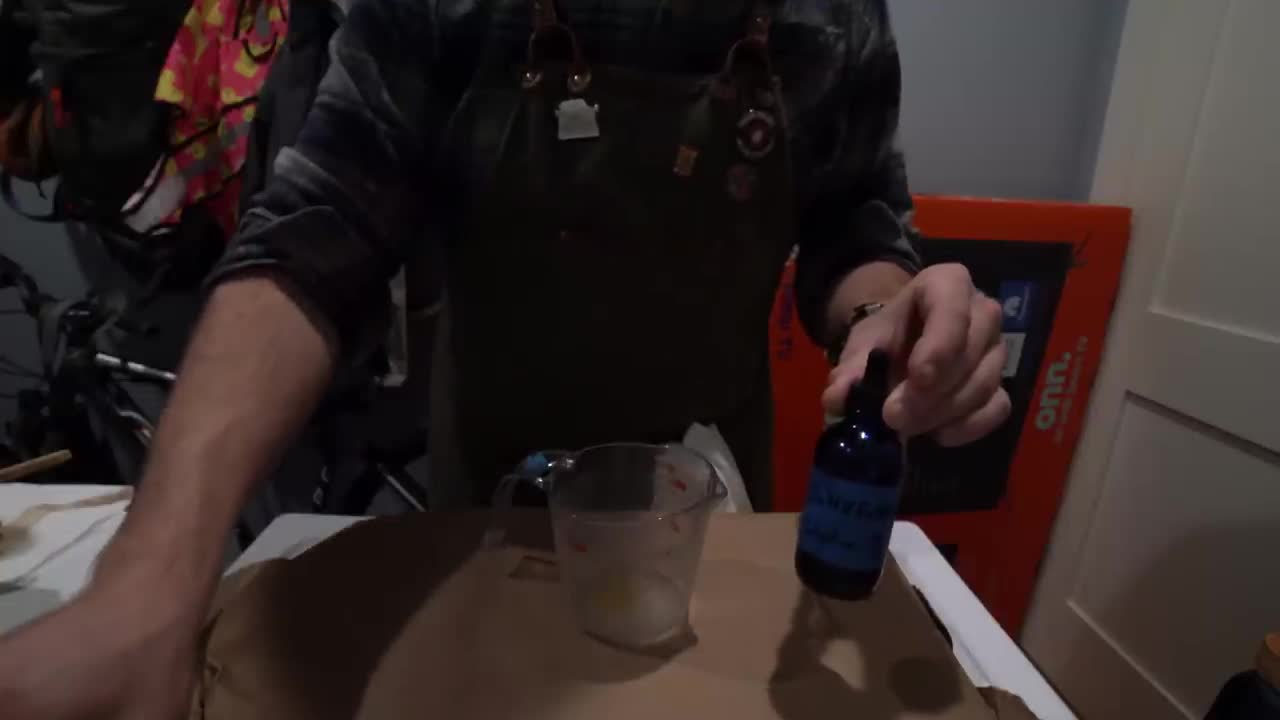
The two stock solutions stay separate in their bottles. When I’m ready to coat, I combine equal amounts of Solution A and Solution B to make the working sensitizer. In the video I count about 30 drops of each for the 11 × 14 inch sheet I’m coating. That’s an example, not a universal coverage formula: absorbency, brush size, and how far you coat to the edge all change how much you’ll need.
Coat in Four Directions
Load the brush enough to make a continuous stroke without leaving puddles. Then work across the paper in the four directions: left to right, top to bottom, bottom to top, and right to left. The order isn’t sacred. The point is to give the surface even coverage from more than one direction without scrubbing it to death.
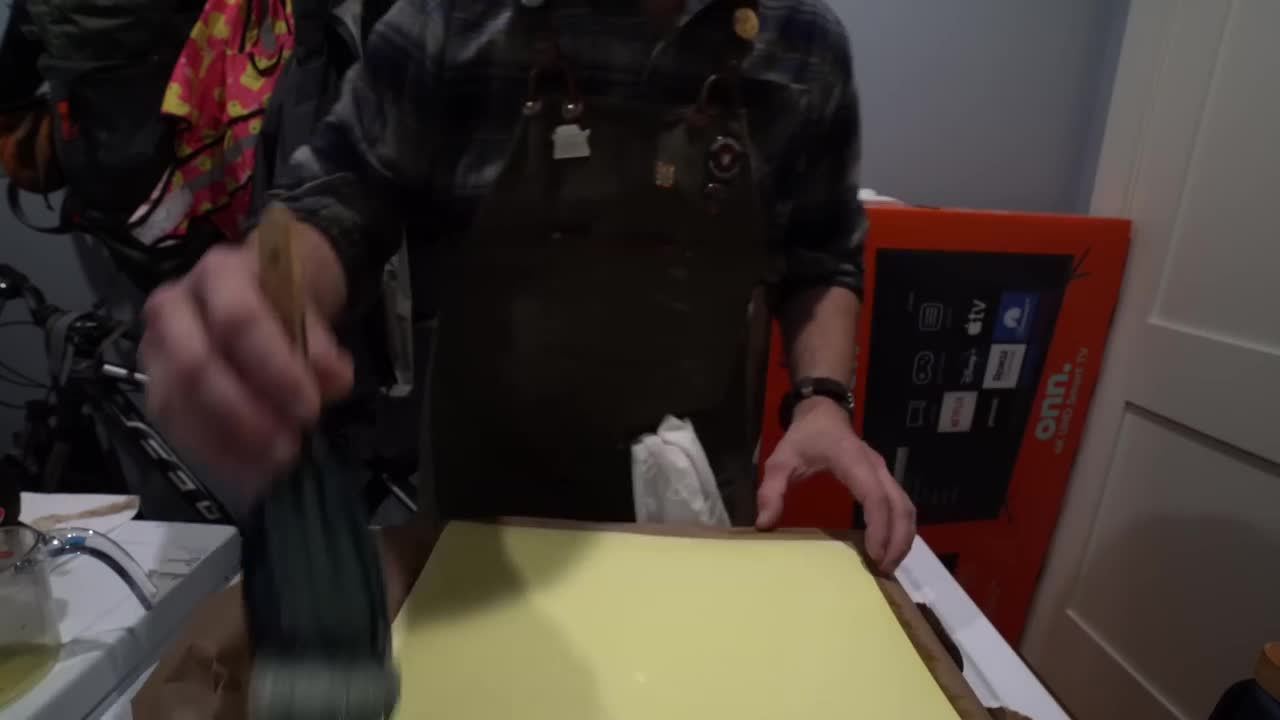
Use light, steady pressure. If you want the hand-coated border, stop short of the edges. For this demonstration I cover the entire sheet, corner to corner. Both approaches make a cyanotype; they just make different-looking objects.
I usually start with a dry brush. If you prefer to dampen yours first, make sure you remove the excess water so it doesn’t leave uneven patches. Watch for loose hairs, fingerprints, and pooled sensitizer as you work.
Dry and Store the Coated Sheet
Once the sheet is coated, let it dry away from UV light. A fan can help move air across it if the light conditions are safe, but keep the coated face clean and avoid touching it. I handle the sheet by the edges or from underneath.
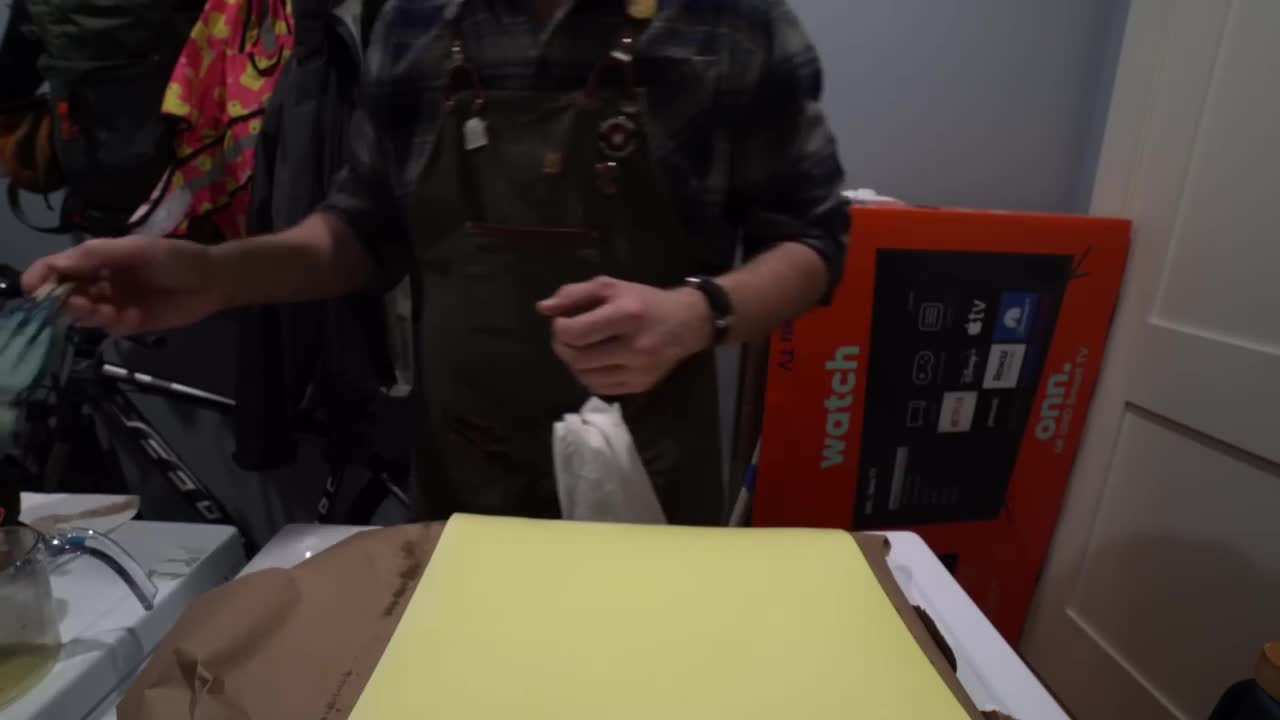
Store the dry sensitized paper in darkness until you’re ready to expose it. I’ve used sheets that sat for weeks, sometimes longer, but fresh coating gives you fewer variables to troubleshoot. If a stored sheet begins to change color or loses contrast, make another test sheet and compare.
You can make this as elaborate as you like. Start with a sturdy sheet, a simple brush, and enough care to cover it evenly. Make the first print. After that, changing one paper or one brush at a time will teach you far more than waiting for the supposedly perfect supply list.
Next, we’ll get into making a digital negative to put on that coated paper.