How to Mix Cyanotype Chemistry
The traditional two-part emulsion from beginning to end
This article is a written companion to my Cyanotype Alpha Omega II YouTube video course. Use this guide to follow along with the video on mixing cyanotype chemistry or to revisit details while you work.
 Watch on YouTube
Use code ADAM for 20% off all products at Jacquard Products.
Affiliate disclosure: Some of the product links in this article are affiliate links. If you purchase through one of them, I may earn a small commission at no additional cost to you.
Cyanotype chemistry sounds intimidating, but mixing it is simple.
I’ve been making cyanotypes for somewhere around eight or nine years now, including roughly two years when I was living and traveling out of my vehicle. I’ve made them from conventional negatives, digital negatives, and objects placed directly onto sensitized paper. One of the reasons I’ve stuck with the process for so long is that the basic chemistry is wonderfully straightforward.
Here’s how I mix the two stock solutions used for the traditional cyanotype process—the formula originally introduced by Sir John Herschel in 1842.
This is the traditional formula, not the later process sometimes called “New Cyanotype.”
The Traditional Cyanotype Formula
For the 100 mL batches I normally mix, the recipe is simple:
Solution A - 10 g potassium ferricyanide - 100 mL water
Solution B - 25 g ferric ammonium citrate - 100 mL water
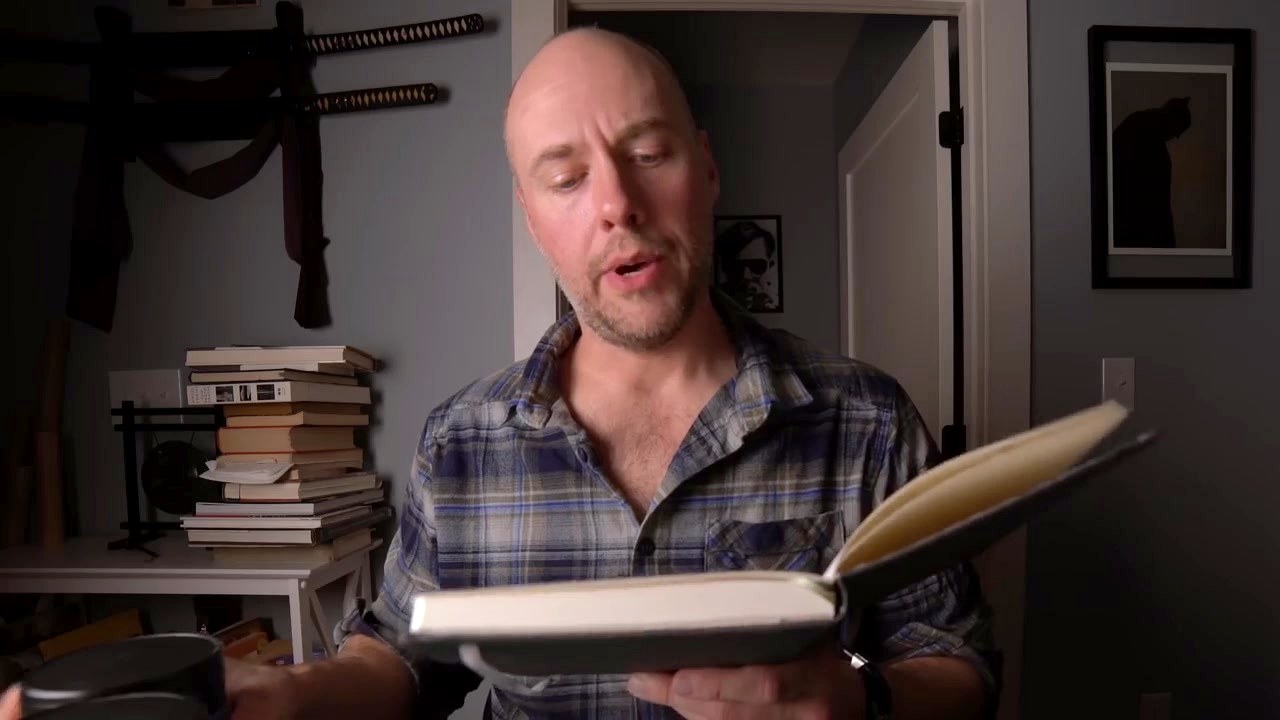
That’s it.
The two solutions are mixed and stored separately. Later, when it’s time to coat paper, equal amounts of Solutions A and B are combined to create the photosensitive working sensitizer.
And yes, even though this recipe is easy to remember, I still write everything down. Future Adam has learned not to trust Past Adam nearly as much as Past Adam thinks he should.
What You’ll Need
You don’t need much specialized equipment to mix cyanotype chemistry:
- Potassium ferricyanide
- Ferric ammonium citrate
- Water—preferably distilled
- A small digital scale
- A mixing vessel
- Two storage bottles
- Something to stir with
I prefer 100 mL blue glass dropper bottles. Amber glass works perfectly well too. The idea is simply to reduce the amount of light reaching the chemistry. If all you have is a clear bottle, wrapping it in aluminum foil is a perfectly workable solution.
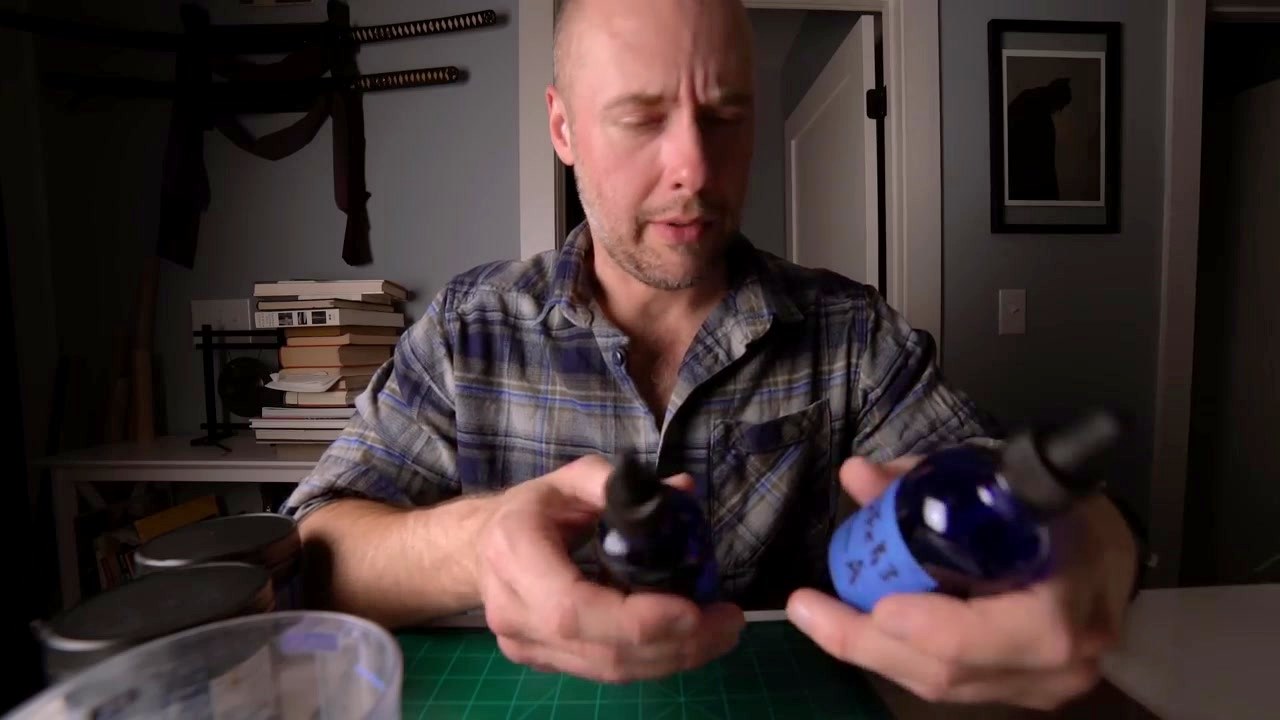
The dropper tops also make life much easier later when you’re measuring equal quantities of A and B for coating.
Chemistry and supplies
- Pre-mixed Cyanotype Solution A and B Set
- Jacquard Potassium Ferricyanide
- Jacquard Ferric Ammonium Citrate
- Complete Cyanotype Kit — paper, brushes, chemicals and more
- 100 mL Blue Glass Dropper Bottles
- 100 mL Amber Glass Dropper Bottles
- Digital Scale
- Magnetic Stirrer
Jacquard Products also provided chemistry and materials for this series.
A Quick Safety Note
Cyanotype is an approachable photographic process, but these are still chemicals. Avoid inhaling or ingesting the powders or solutions, avoid unnecessary skin contact, and use sensible protection such as gloves and eye protection while mixing. Keep your chemistry tools separate from anything used for food or drink.
There’s no prize for being casual around chemistry.
What Kind of Water Should You Use?
I prefer distilled water, especially for the ferric ammonium citrate solution.
Distilled water removes another variable from the process and helps reduce the chance of contaminants being introduced into the chemistry. That said, cyanotype is forgiving. Over the years I’ve successfully mixed chemistry using tap water, rainwater, river water, and even melted snow while traveling.
So don’t let the absence of distilled water stop you from making a print.
If distilled water is available, though, use it.
Slightly Warm Water Helps
I like the water slightly warm—not hot and definitely not boiling.
For roughly 100 mL, I’ll sometimes put the water in the microwave for around ten seconds. We’re talking about something around room temperature or perhaps 65–70°F, not anything approaching hot.
The slight warmth simply helps the chemistry dissolve and makes clumping less of a headache.
Tare the Scale First
Put your mixing vessel and water on the digital scale, then tare the scale back to zero.
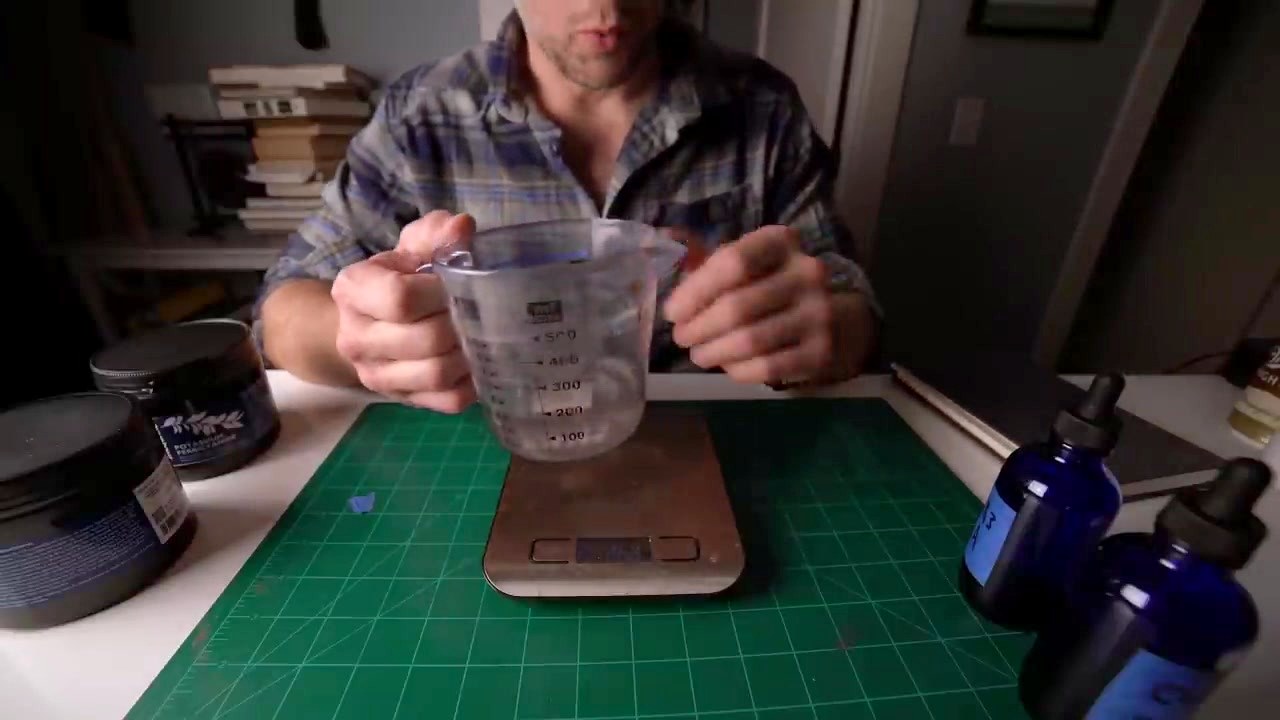
That way, the number you see as you add the dry chemistry represents the chemical itself rather than the weight of your water and container.
I work in grams because it makes the entire process straightforward.
Mixing Solution A
Solution A is the potassium ferricyanide solution.
For 100 mL:
10 g potassium ferricyanide + 100 mL water
Add the potassium ferricyanide gradually while watching the scale.
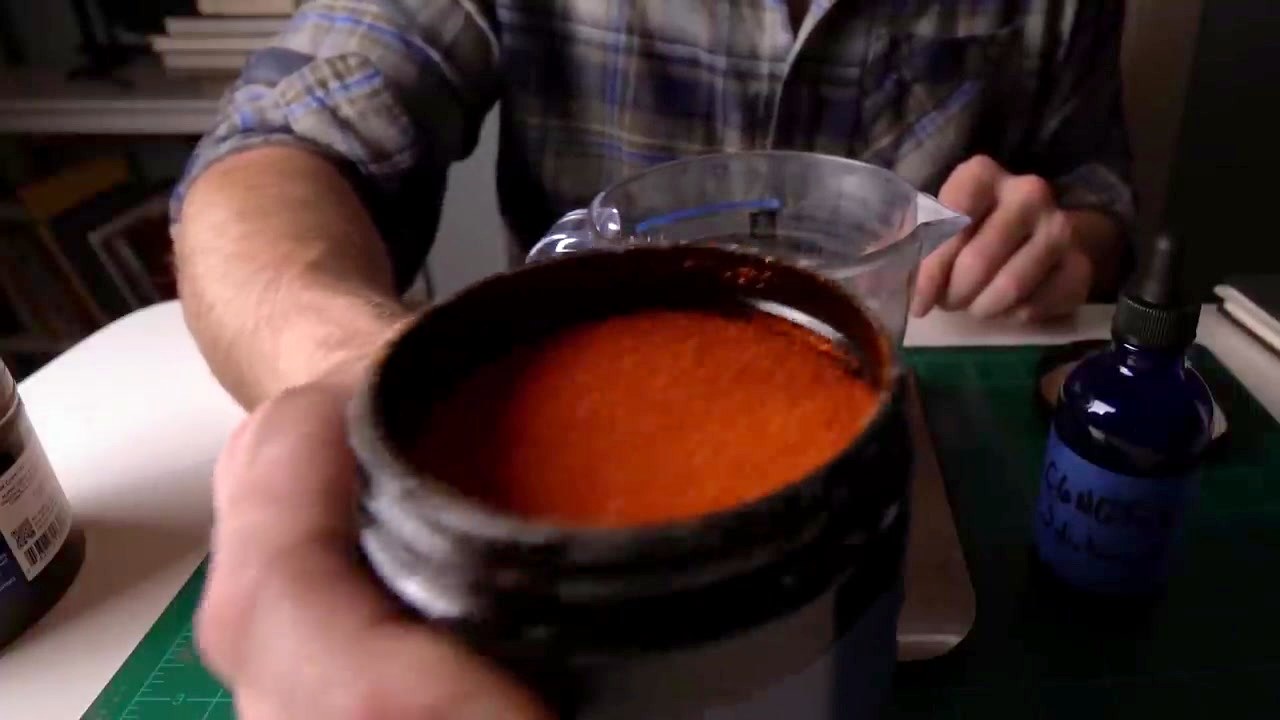
Potassium ferricyanide has a distinctive rusty orange-red appearance. Once it hits the water, stir gently until everything dissolves. There’s no need to beat air into it or whip it into a froth. Just give it a gentle stir.
It normally dissolves within a couple of minutes.
A small USB-powered magnetic stirrer is handy if you already have one, but it is absolutely not required. A simple stirring rod or other dedicated mixing tool works fine.
Keep Solutions A and B Separate
This part is important.
Once Solution A and Solution B are combined, you’ve created the photosensitive cyanotype sensitizer.
Until you’re actually ready to coat paper, keep them separate.
Wash your mixing vessel—or use a different one—before moving on to Solution B.
Bottle Solution A
Once everything is dissolved, transfer Solution A into its own light-resistant storage bottle and label it.
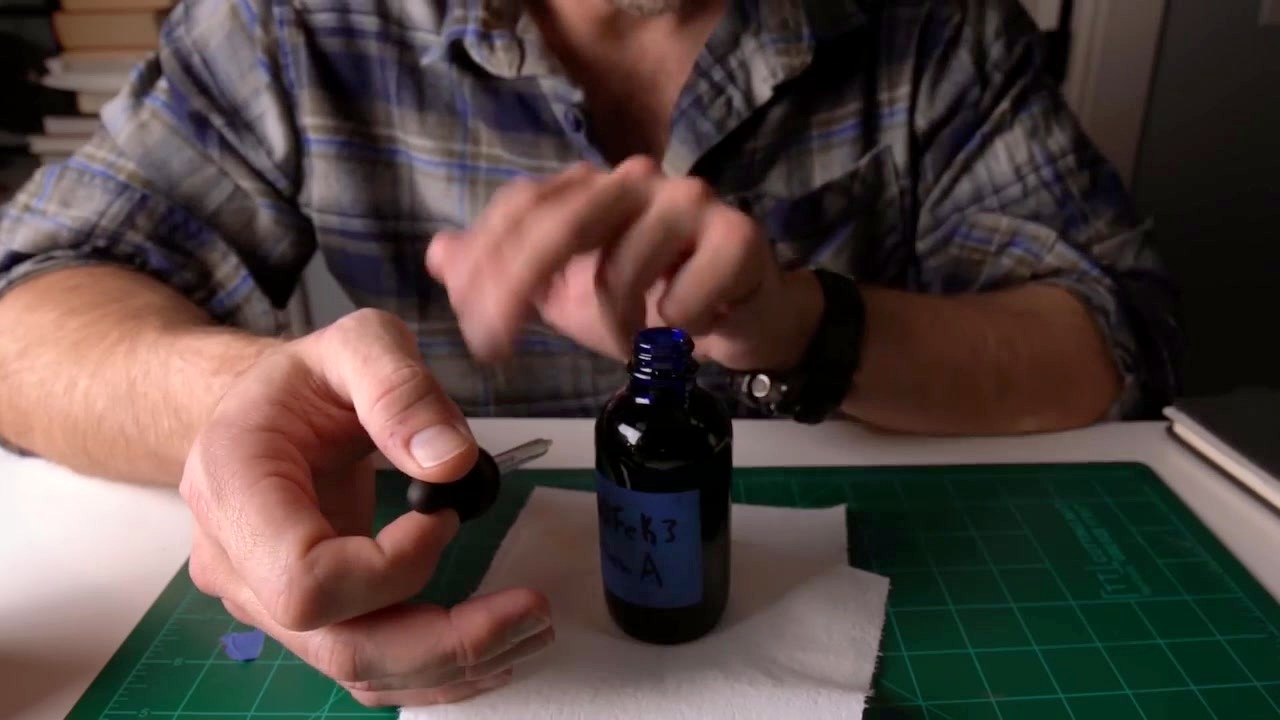
And leave a little headroom for the dropper.
Don’t ask me how I know this.
Mixing Solution B
Solution B is ferric ammonium citrate.
For 100 mL:
25 g ferric ammonium citrate + 100 mL water
Ferric ammonium citrate is generally a finer, greenish material and dissolves very easily.
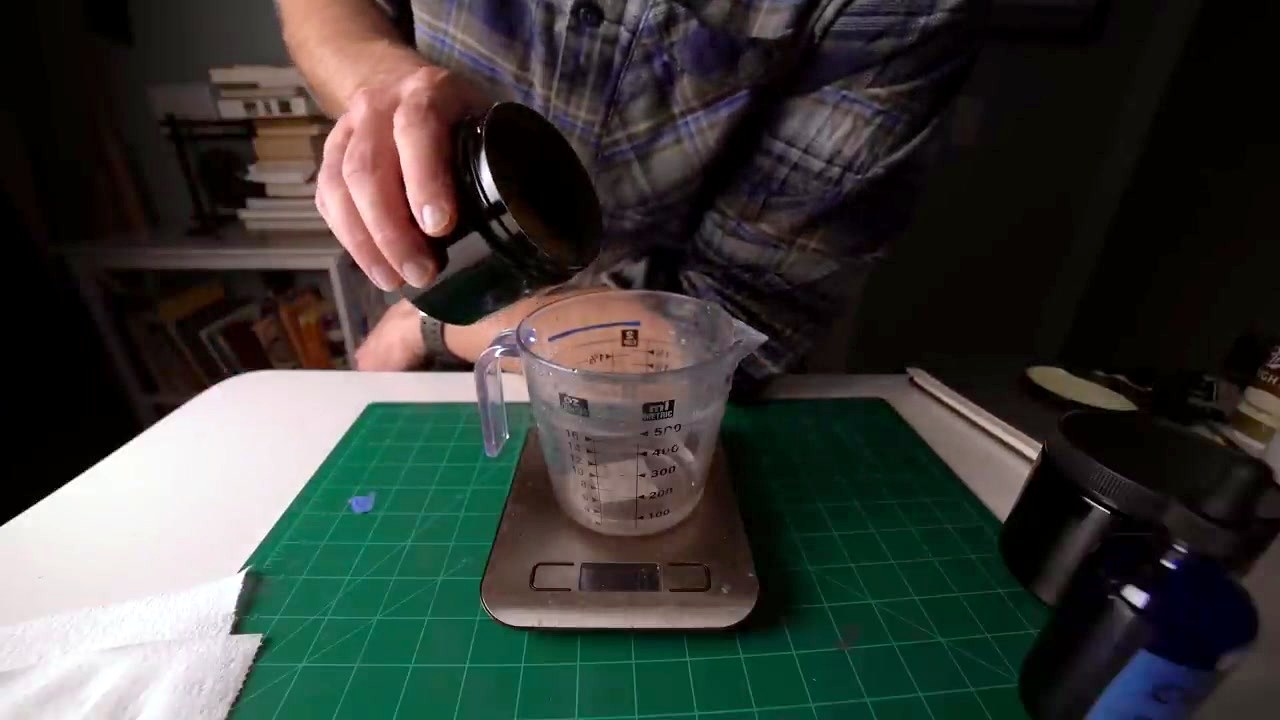
You don’t need to mix this in complete darkness. Normal indoor room light is fine. I simply avoid unnecessary UV exposure and strong sunlight while working with and storing the chemistry.
About the numbers you see in the video
There’s an important little mistake in the episode that I want to make absolutely clear.
The formula is 10 g potassium ferricyanide and 25 g ferric ammonium citrate per 100 mL of water.
While filming, I accidentally overshot Solution A and ended up at about 12 g of potassium ferricyanide. I then nudged Solution B upward to about 27 g for that particular batch.
Those 12 g / 27 g numbers are not the recipe. They were an on-camera correction to a batch I had already overshot.
Use 10 g / 25 g.
Cyanotype is forgiving. Your digital scale may occasionally remind you of that fact.
The Dreaded Happy Fungus
Ferric ammonium citrate solution can sometimes develop fungal growth during storage.
My optional trick is adding approximately one or two drops of 91% isopropyl alcohol per 100 mL of Solution B after mixing.
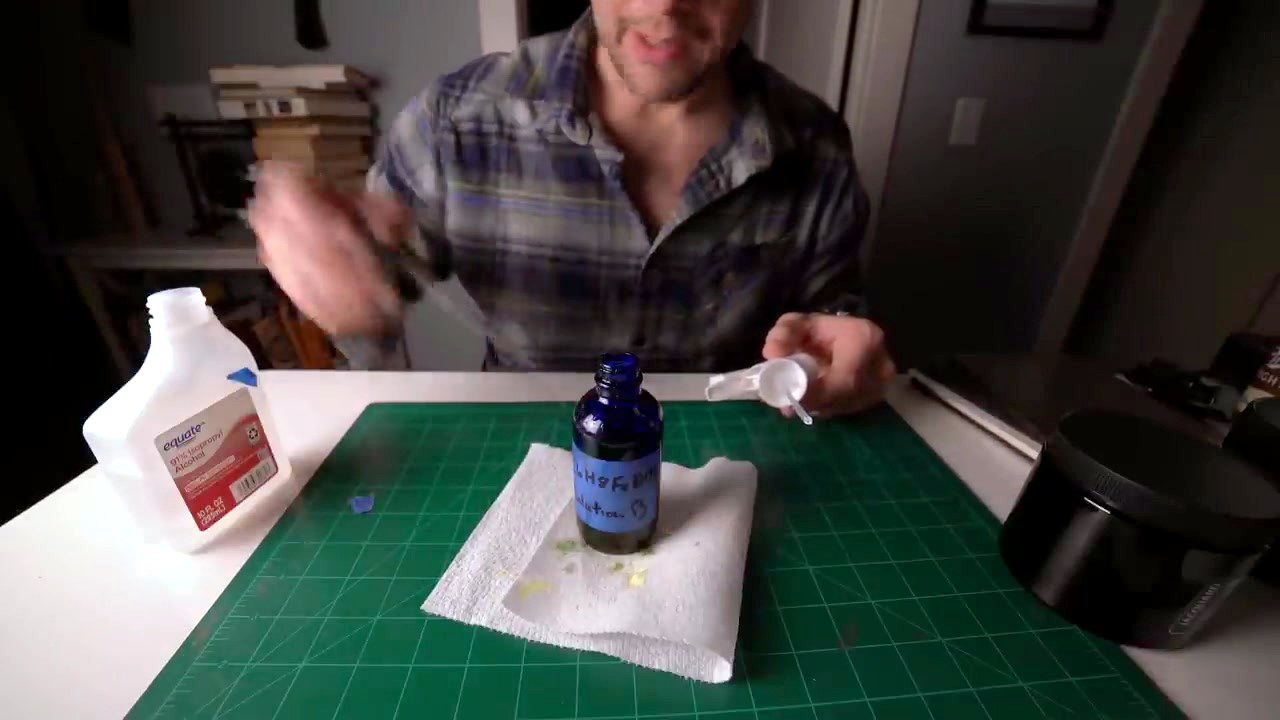
That is my personal practice, not part of Herschel’s traditional formula. I’ve used it without noticing any ill effects in my own cyanotypes, but I consider it an optional storage experiment rather than a required step.
And if your ferric ammonium citrate eventually grows a little happy fungus anyway, don’t panic. I’ve filtered or removed the growth and continued using the solution successfully.
Again: do not let this drive you crazy.
Cyanotype is far more forgiving than people sometimes make it sound.
Storing the Chemistry
Once mixed, I store both stock solutions in light-resistant bottles in the refrigerator.
I’ve used them cold and I’ve used them after allowing them to return to room temperature without noticing a meaningful difference in my own work.
What I do not recommend is storing the dry chemical powders in the refrigerator. Condensation and moisture can cause clumping and create unnecessary problems. Keep the dry chemistry sealed and dry; refrigerate the mixed stock solutions if that’s your preferred storage method.
Less light, less UV exposure, and sensible storage will serve you well.
Do You Have to Wait Before Using It?
I generally let freshly mixed Solutions A and B sit for somewhere around 8 to 24 hours before using them.
I call it letting the chemistry “mellow.”
Is that scientifically necessary? I can’t tell you that it is.
I’ve used freshly mixed cyanotype chemistry immediately and I’ve used chemistry that rested overnight, and I personally haven’t been able to identify a meaningful difference.
So if you’ve just mixed your chemistry and you’re dying to make a print, make a print.
Don’t Want to Mix Raw Chemicals?
You don’t have to.
For somebody making their first cyanotype, a pre-mixed Solution A and B set is an excellent way to get started. You can concentrate on coating, exposure, and development without worrying about weighing raw chemicals.
There are also complete cyanotype kits that include chemistry and additional materials.
But if you plan to make a lot of cyanotypes, mixing the stock solutions yourself is easy, economical, and gives you a tremendous amount of mileage from relatively small quantities of dry chemistry.
The Entire Recipe Again
For a 100 mL batch:
Solution A - 100 mL water - 10 g potassium ferricyanide
Solution B - 100 mL water - 25 g ferric ammonium citrate
Mix them separately. Store them separately. Combine equal amounts only when you’re ready to make the working sensitizer.
That’s really all there is to it.
The names sound intimidating. The process isn’t.
Cyanotype has been around since 1842, but you do not need to turn it into a laboratory exercise to make beautiful prints.
Next, read my guide to paper and coating—what works, what doesn’t, and how I actually prepare paper for printing.
Until then, go mix some chemistry.